Monday, 12 May 2025

I hosted a games night!

 I decided to host a games night at a local venue to see what would happen. I didn't have to pay rent or anything. About 10 people game, small time stuff, but a good time was had by all. One person had come really unenthusiastiacally and went away having had a great time. 

I played Snake Oil with some people, which was a success. I have yet to play that game and have a bad experience with it. 

People started leaving a bit early, which was frustrating but I stayed on with a friend playing Dominion until he got a phone call saying he had to come home. Classic. Now I haven't played Dominion since Pre-Covid. It was beautiful to get that out on the table again. I need to make sure it is played more. I think I will be hosting something like this on a more regular basis. We played just the standard starter deck. I have Seaside and Intrigue expansions but don't ever use them. If I play more, I want to be able to do more decks. Last night I actually looked on BGA to see if Dominion is there but it isn't. I do remember playing it online though at some point so will look into that further.


I was one turn away from attempting to end the game as I was 90% sure I had more victory points saved up. I was correct. I played through my turn and would have had the correct cards to buy what I needed in order to end it so I count it as a win.

Tuesday, 6 May 2025

JB MDF Farm - mostly painted

After putting the farm together it sat on the top of my Billy bookcase for a couple of weeks. This weekend I primed it and then put a lot of paint onto the buildings. I am pretty happy with the result to be honest. I would actually be happy popping this onto the table as is to be fair. 

To aid this, currently I am popping into B&Q every week to check their "free wood and offcuts" box to see whether they have any hardboard. I want the hardboard to use as a loosely okay cobblestone-esque section of the table. I want to be able to put the buildings on top of it. I found one to pay for: £8 for a big piece. £12 for a piece double the size but I would need to store it. I want to be efficient with costs but also have limited space for storing large sheets of wood. Bonus - I did find a section of MDF that is a good thickness for walls and is actually the perfect size to just cut into strips to make a variety of both man-height obstacles, and low obstacles for a little light cover. 

To paint these I took Vallejo Red Brown (I use it for leather) and watered it down then let it flow over the roof. You can see where I watered it down too much and too little.

The walls are simply a white heavy mix of white and a little black from generic craft paints from The Works. Doors are either Vallejo Beige brown, or Citadel Staken green. Windows are that same green. The black parts are just black. The door knobs are just dots of paint. 


The gaps between the roof and the wall is starting to bother me a little, but hopefully won't matter once on a table. I like the almost cartoony nature of the door - but this isn't 6mm so once the bullets start flying and my 20mm Brits are taking cover, I might get annoyed by it. Then I will give it a wash!


I still can't decide what to do with the doors on the end of the barn. Glue them open or closed. I will probably go with closed. 

I am pretty happy with this set of buildings though. Looking forward to putting the ruins together. I will have to break out my cat litter to make rubble. 

Wednesday, 23 April 2025

MDF Farm - JB MDF Products - a review of sorts

 I spent a few days looking for sensible, cost effective options to quickly get some 20mm terrain onto the table ASAP. Across Ebay I was finding options where the cheapest looked to be about £10 for a single ruined building - 3D printed. In tact buildings were a little more. Then I came across this. A four building farm for £15 and a whole load or ruins for £11 all from 2mm MDF. I have put the farm together so far and wanted to give some initial thoughts. 

1. These buildings are meant to be thatched, but the thatching material looks better as hedges I think, and the roofs have a tiled pattern so I will be leaving them as they are. 

2. They came with access to online instructions - these basically said what parts go with which building. The instructions were fine, I didn't really use them mutch.

3. The windows came with an outer frame and an inner pattern. Both pretty cool and I reckon you could get away without the inner pattern.


Part 1: Walls. I put each building together in two pieces. I thought it would be easier to pop those two corner parts together once dry. I also put one or 2 of the corner strengtheners into each corner. The corner strengtheners were game changers. Very good idea. What I should have done is plan further ahead and attach the other corner strengtheners to the unconnected sides so I could just slot the two pieces together. As it stood, I was impatient and ended up not waiting that long. A few buildings fell apart a little. but in the end I had them all fully connected. 

You can just about see the single story farmhouse at the back. You can also see how the wall is bent outwards from the lintel on the door frame. That was annoying, but it was a natural weak point. I can't remember if I broke it or if it broke in transit. 


When the farmouse was fully glued together the damage is not noticeable and has absolutely no impact on the building. With a door in the frame it is even stronger. Phew. 


The rooves look good. There are also more doors than I need. Saving those for later.


Part 2: Windows and Doors. The doors and windows look pretty good to be honest. I am pleased with them. On my previous scratch built building the windows and doors were the thing that really let it down. A guy at the club scratch builds buildings but 3D prints windows and doors. Clever.


Step 3: The roof. The roof sections glue onto triangular sections that slot onto the top of the side walls. They fit pretty well. Any of mine that don't fit well are down to my poor gluing skills or lack of patience. I honestly don't care that they sit a bit strangely. I am just chuffed with the price and simplicity of these. It will be nice to have some 20mm buildings that look better than the awful creations I have knocking around.


I am unsure how I will do the doors on the below building. Closed or open. Closed means I don't have to paint it... Open might look better. 


Overall I am pleased with these buildings. I would recommend picking them up on Ebay for sure. I hope the guy comes out with more 20mm buildings. He has quite a lot available for 15 mm and 28mm. 

I have also picked up a large sheet of MDF from the free offcuts bin at B&Q that is perfect to make some walls. These will be simple walls, man height and lower that probably can stand on their own with no base. 


Friday, 11 April 2025

Chain of Command pick-up game: Brits vs German infantry

Last week I witnessed the sad destruction of some Panzer Grenadiere caught in a ditch of death. This week the campaign was not on so I asked for a pick-up game so I can concentrate on learning the rules. There were three of us. I also got to use my own Germans. My miniatures don't see a huge amount of use (e.g. none basically) so it was really cool seeing them on the table. 

Let's be real: I got my butt kicked. I am pretty sure I made a few tactical errors from the offset, but by the end of the night I was just trying things out to try and get to grips with the rules.

Now I am well aware that Chain of Command 2.0 is being released in "Spring 2025" and find it ironic that I waited until now to finally take the plunge. I recall it being 2013 as I was slowly getting back into miniature painting and wargaming (even though I didn't actually play a wargame for a long time) and I heard about Chain of Command. I was shopping around for a rule set to get into. Battlegroup, Bolt Action, Chain of Command. I also had Crossfire from ages ago, and still haven't played those rules. I eventually settled on Bolt Action and played a couple of games of it but decided it was too gamey. Then I went for Battlegroup and bought the rules, then did not play them for six years as I committed to 6mm Sci Fi. Chain of Command I rejected because it was 28mm, 6x4 table, and had less emphasis on vehicles. 

Discovering a local wargames club really helped, and having sat through some games I am convinced that these rules are pretty fun. The guys here also try not to play it in a too gamey way - so while leaders technically have a leadership radius, if you can't see a squad, you can't command them according to the guys here.

One aspect of the game that is different/interesting/infuriating is the Patrol Move phase. Games can be lost in this part. We both managed to get three half decent jump off points. Working out where these go has convinced me to buy one of those Army Painter laser pointers that lays down a red straight line along the board, showing line of sight. 

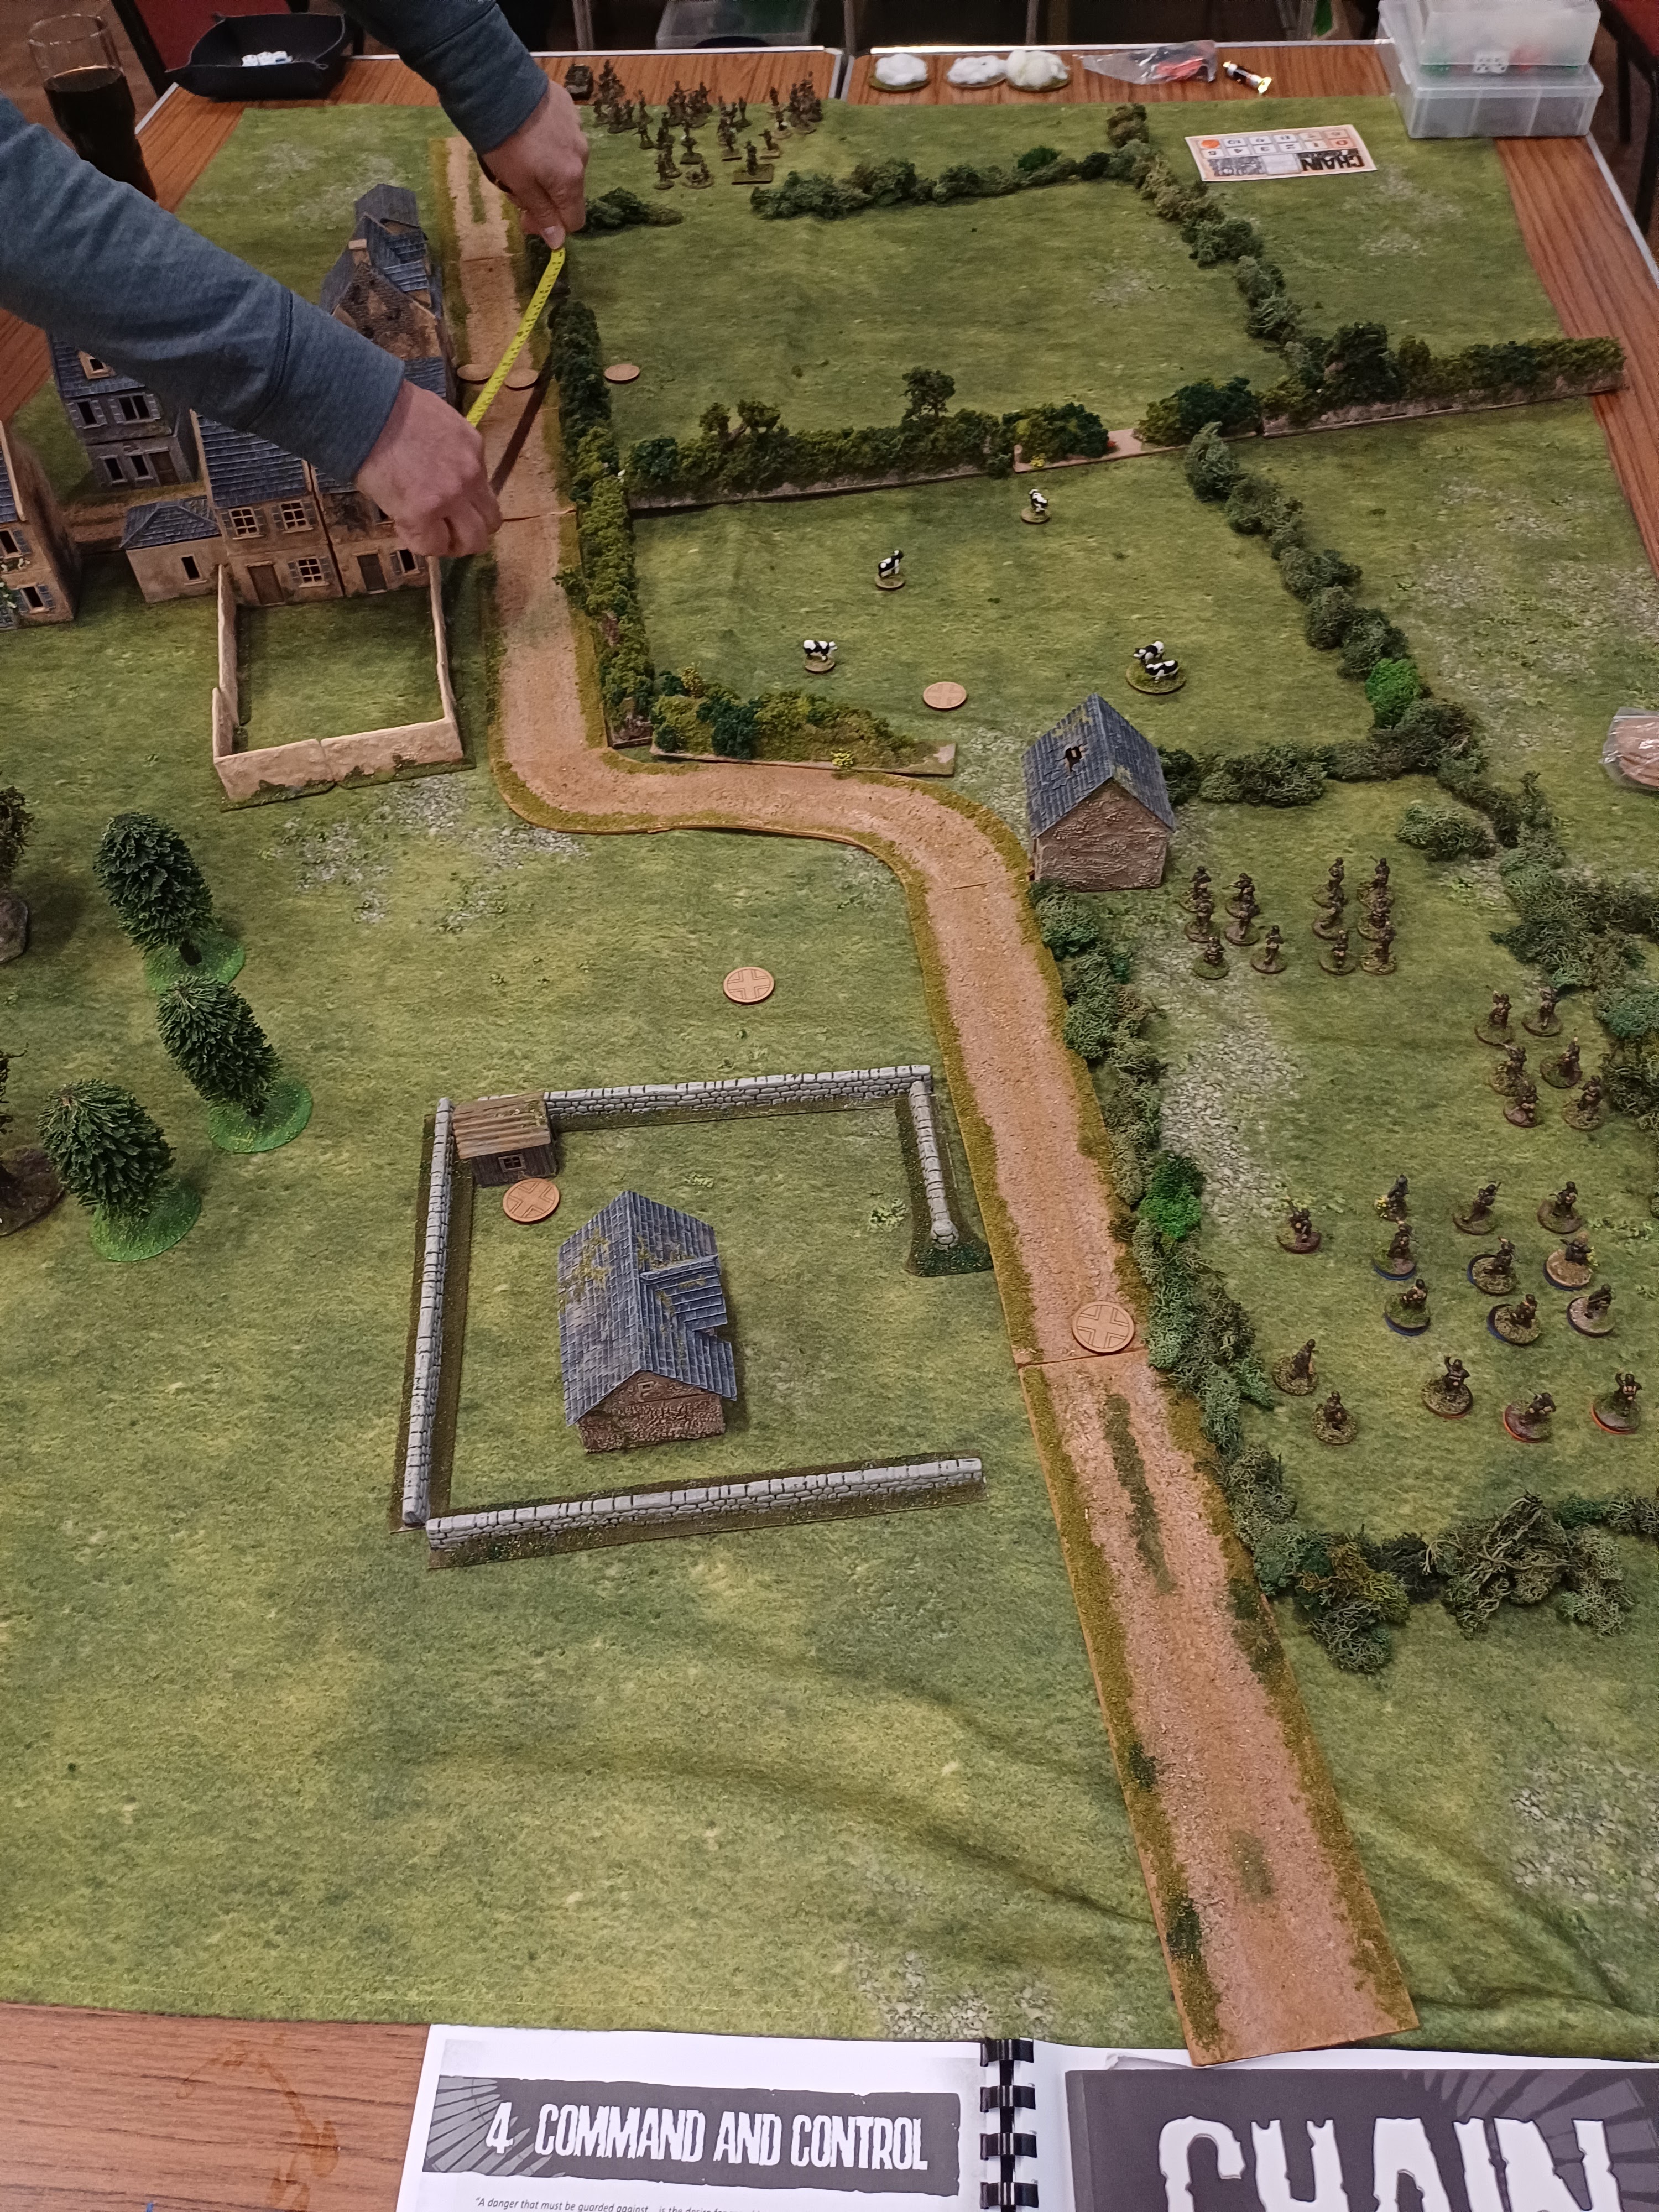
We sort of made up a scenario where the objective was to get one unit off the enemy side of the table. Alex concentrated on flooding the village and was going to storm through the woods to get to the edge. I was going to flank around the village with two squads and try to gun it across the fields. 


This is the squad I was using to lead the charge around the village. They performed well at first. I actualyl managed to roll 3 double phases in a row which was cool, but led to my downfall.


I lined a squad up in the woods, far enough in to not be visable but they also couldn't shoot out of them. I was just going to camp them there. I should have probably put them at the edge of the woods to fire out or maybe should have tried to advance to the village. 


The brits spent most of the time laying down smoke over my squad in the woods. I had them on overwatch for most of the game.


I loaded my final squad into the Hanomag and ran it up the road and across the field to try and support my other squad. But I also used my three double phases in a row to charge my squad up to try and take over the enemy drop point. I took no pictures of it but they didn't move enough and ended up JUST short of the drop point, leaving them exposed in the open while Alex deployed a squad behind the hedge. I had a CoC point so used it to interrupt him firing on me by charging into close combat and prompty had my entire squad wiped out. The game was over at that point basically. 

Soon after his PIAT team caused my Hanomag to have 2 shock, my senior leader was wounded and Alex then charged into the woods with two squads. I did a lot of damage to his squads and caused them to retreat, but my entire right flank was very vulnerable and Alex was about to run his Universal Carrier up the road and off the table for the win. 


I learnt a lot about the rules with this play through. I enjoyed it immensely. I actually liked not having tanks on the table. I am pretty happy with the idea that I actually have quite a lot of what I actually need to play this game. I will wait until the new version comes out and try to get a bundle with Chain of Command dice and the tactical/overwatch markers, maybe even shock trackers. 

The buildings are all scratch built by Andy. I cannot even begin to say how cool they are. He inspired me to look into how to make my own. 

Friday, 4 April 2025

Chain of Command - Diving in

Image taken from https://www.brigadegames.com/assets/images/rules/wr-tflcoc.jpg


 Last night I went to the club. I almost didn't go as the guy I played Memoir 44 with last time hadn't responded to my late in the day message asking if he was coming. I arrived late and almost walked off as I couldn't see an obviously WW2 table. But then I saw it, 7 guys around a table. They asked if I wanted to be Poles or Germans. I explained I have a German name so they kicked me to the other side with the Germans. 

It was Chain of Command again. I was not annoyed, but I was still undecided whether to jump into those rules or not. I had a PDF of them that I procured last year but I had not read it. I struggled to keep up a little with the command dice, but decided I would buy the book, only to find that Too Fat Lardies are working to release Chain of Command 2.0 this Spring and have taken the first book down from the website. Luckily I have the PDF.

I had walked into the second game of a short campaign - Polish airborne in Market Garden defending against a hasty attack by the SS. The crazy thing is that the campaign is that it takes place over the space of a few hours - probably shorter than it takes to play one of the games!! A platoon of Poles were going to occupy these buildings. The Germans were tasked with advancing over open, boggy ground. Ground overlooked by three buildings. It was going to be a bloodbath probably. The brown straight bits represent drainage ditches and provide light cover. The hedges provide light cover and do not block LOS.


We thought it would be good to put the half tracks on first and use their MGs to keep the defenders pinned while we tried to advance the two remaining infantry sections up the drainage ditch. The polish sniper in the attic of a building shot at one half track, causing the crew to bail and abandon it. Just ridiculous. Throughout the course of the game the remaining half track would keep pretty steady fire on the defenders though.


In the end, this is how far we advanced. The squads just got massacred in the ditch and our command points(??) slowly deteriorated until it hit 0 and we lost the game. We inflicted 7 casualties on the Poles and killed one junior officer, all of which were replaced immediately in the campaign. I think they will start the next game with one casualty and a slightly worse new junior officer. The Germans start with a brand new platoon but have no other reserves. 


So here we are. I decided to print out a copy of the PDF and bind it up for now. I will be reading it over Easter. My understanding is that the 2.0 rules are largely the same. I am committing. I am joining my fellow club members.


Friday, 14 March 2025

Club Night - Memoir 44

 Having attended the local wargame club twice last summer, I did not return. This was due at first to my wife's work life making Thursday nights really difficult. Then there was the summer break where I was just busy the entire time, more of my wife's work into the autumn, then it just sort of felt awkward that I would show up after so long and hope that they were nice? So ridiculous and neutoric. 

In the end someone new messaged about wanting to play Memoir 44 and I took that as a way in. My wife has also changed her job which makes Thursday nights much less stressful and full on. So I went and when I arrived there were two guys playing it already. So I sat with them and we hot steated around the table. It was pretty cool. I have had Memoir 44 since 2012 I think, but had only played it 6 times in 12 years. It is 2 player so it didn't really get to the table much.


This was Omaha - the first game as I watched. US attacker gained 2 medals while the Germans defended and got their 6 medals. The game is meant that you play each scenario twice but the players switch sides. This scenario is very difficult for the allies to win. 


When I played as the Germans I defended well and the Allies only gained one medal, managing to kill one of my infantry squads.


When I played as the Allies I lost, but I actually managed to get 5 medals and was one away from victory. It was pretty cool, but does come somewhat down to the luck of the dice and the card draws. I managed to get a few nice cards that allowed me to advance large amounts of units up the beach which helped. 

After this we played the liberation of Paris scenario which was really hard to win as Germans. That was pretty fun. 

Monday, 10 March 2025

A few figures - Perfect Six Miniatures

 Here are a few projects I have been working on.


This is a 3D printed Russian building. It is generic enough to use for anything in my opinion. Based on an old Student ID card. I don't have a 3D printer, my friend did it for me. The barrels and crates are from Perfect Six Miniatures and are great looking. I have two sets like this although one is unpainted. 


Perfect Six dead animals. There are cows, horses and some buffalo that I am convinced I didn't order. They look fine. The really dark ones I actually spilt my Agrax Earthshade all over them. Had to prize them off of the mat once dry. They work well enough. Can't get a good picture of them to save my life though. 


The orange convict is from CP Models - from their set of 6mm characters for Sci Fi. The rest of them are Perfect Six Miniatures and are either from the horse drawn cart set, or are "Black Powder" civilians/peasants. I just wanted more generic/wild west looking civilians to populate the edge of the galaxy. I did end up painting them various colours that all seem to have dried looking brownish.


Monday, 24 February 2025

6mm WW2 Soviet infantry painting guide - Keeping it simple

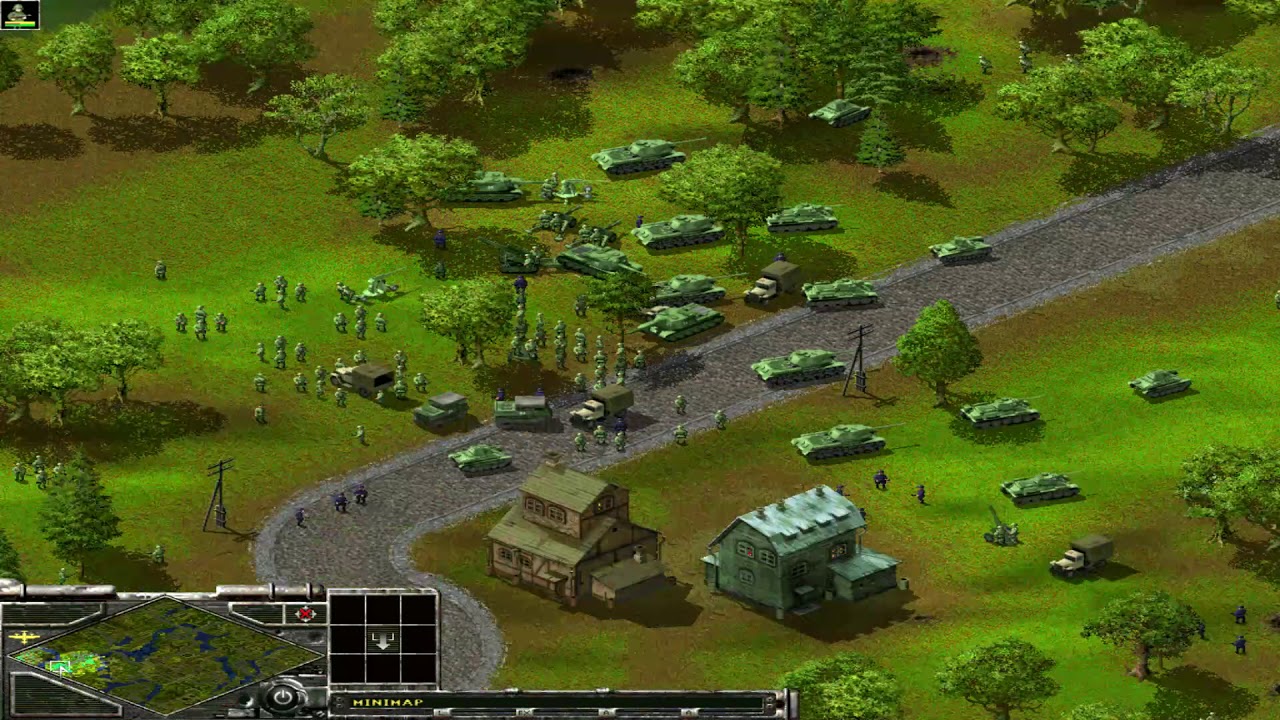
 Unhappy with my previous platoon of Soviet infantry I wanted to go greener and brighter. Again, I wanted them to better reflect how they look in Sudden Strike. I wanted a uniform green colour that stands out a little more from the darkness of the table. Here is how I did it.


These are the vaguely recent (as of 2025) Heroics and Ros Soviet infantry in SUMMER UNIFORM.

I painted the figures on strips, which was not a good move, it made basing them harder. On some of the stands you can see shiny copper coin glow through. Next time I paint any I will base them and prime them first. Then paint the base sand yellow - with no coin showing through. I will then follow these steps:

Step 2: Flesh - I was not careful at all.

Step 3: Uniform - I used a colour called Russian Uniform from Vallejo.

Step 4: Weapons and boots black. No wooden stocks at this size. If any paint from boots goes on the base then sobeit.

Step 5: Washed the miniatures with Citadel: Agrax Earthshade. Did not bother washing the base.

Step 6: Painted their helmets Vallejo Russian Green.

Step 7: Painted bayonets with Citadel: Runefang Steel.

Step 8: Flocked the bases. Covered entirely with flock. Painted the rim of bases Vallejo German Grey.

Step 9: Seal miniatures with a matt spray. 


Two different types of light. I really like how these Soviets have turned out. So much better than my first batch - they were too dark. These guys were so simple to paint. The shiny bayonets really help them pop off of the table. 

6mm Wehrmacht painting guide - Keeping it simple.

I wanted to post a guide for how I have started painting my 6mm Wehrmacht figures. I basically wanted to speed the process up and not ruin my eyes for something that looks just like a vaguely coloured blob on the table. 


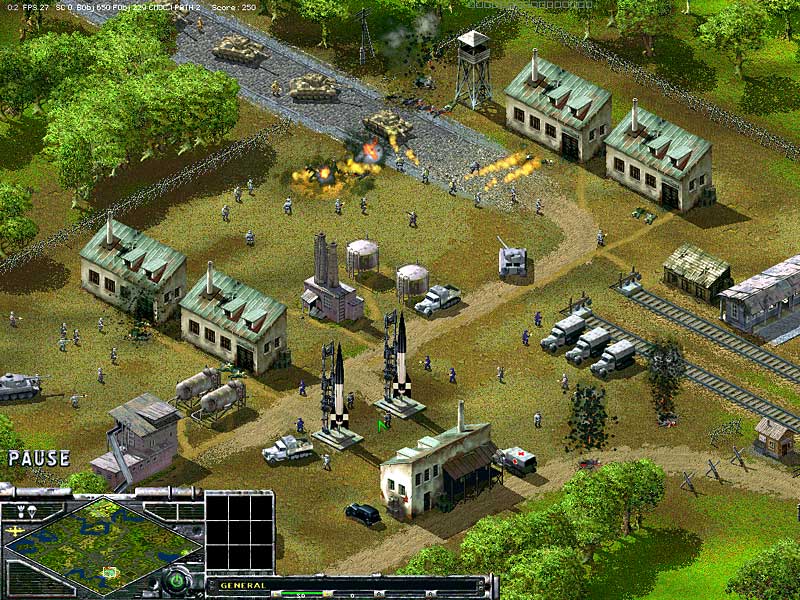
I have previously discussed how Sudden Strike, an old computer game (that I loved), had each nation be a vaguely different, semi historically accurate colour scheme. This felt like something I might want to replicate in 6mm for ease. However, there was something about painting Tiger 2s and Jagdpanthers grey that didn't sit right with me. As such the vehicles will look pretty late war accurate and the infantry just need to be vaguely Feldgrau-looking.


These are the vaguely recent (as of 2025) Heroics and Ros: German WW2 infantry LATE WAR. 

Here is how I did it.

Step 1: basing and priming. I base my figures on stands of 1, 2, or 3 figures. My standard is a 1p coin. Gun teams are as many figures as the gun requires. I then prime the stands white - this brightness helps with other colours. I then paint the coin with a sand coloured craft paint. I apply no texture whatsoever. (One step simplified). The paint going onto white primer helps it stick. With my Soviets I painted the figures on the strip and attached them later to bases - which has caused problems.

Step 2: I then paint flesh - I am messy with this.

Step 3: I paint their uniform - Vallejo Feldgrau. I get my brush a tiny bit wet to help the paint spread a little, and keeps it lighter. Some of the figures have had their faces painted over mostly, and I do not care. They are always facing away from me anyway. 

Step 4: Guns and boots are painted black. Not wooden stocks, no gunmetal colour. Just black. Paint from the boots ends up on the base - this does not matter.

Step 4: I paint their gear with Vallejo Desert Sand - backpack, canteen. I do not care that this may not be accurate, I just want the gear to stand out a little.

Step 5: I wash the miniature with Citadel: Agrax Earthshade. 

Steps 2-5 are all done in one session.

Step 6: I paint the helmets Vallejo German Grey, and if they are wearing a cap, I paint that Feldgrau. That helps the figure pop a little and gives some colour. 

Step 7: I paint the coin rim a dark colour - Vallejo German Grey normally but black will do.

Step 8: Cover the entire base with a light green flock.

Steps 6-8 are one session

Step 8: Seal the entire thing with a matt spray. This is done when the weather is good enough to let them sit outside so the smell doesn't come in the house.


Closer than I will ever look at them. They are far from perfect but get the job done. 


Compare the bases of the vehicles - the infantry are much lighter.


This picture best represents the light I see them in and the distance as I am usually sat at a table. They look perfectly acceptable. 


Highlighting their gear - all sand coloured but still fine.


Also similar light to how I see them just closer. 

In all I find this method to be effective. I can tell who they are from a distance and they paint up pretty quickly. When I show you my US and Soviet infantry you might see some scratches as I painted them on strips first. This sped up their painting, but basing them up was a PITA. This German method is a winner - handling the bases is kind of annoying, but if I were really serious about it I would save some bottle caps and blutac them onto those. 

Saturday, 22 February 2025

Heroics and Ros Wehrmacht and terrain

 I have made some more progress over the Half Term break. 

My son made these industrial terrain features by just glueing a bunch of junk from my junk boxes onto some MDF squares. The MDF squares I bought at 2012 Gencon thinking they would be perfect for basing 20mm miniatures on for Crossfire (a ruleset I have yet to play). I based three stands of infantry and then removed them. Since then I have used these squares for gun teams and 6mm terrain bases. 


The ruin is leftover parts from some MDF 6mm Normandy buildings that I bought in 2016 when making the jump over to 6mm. The rubble are various beads and flock from cheap Chinese trees. It looks okay. The other building is a repaint and redecoration of something I built in 2016. It is made from baby food squeezy pouches - the lid part. I wanted to see what it looked like not for desert terrain. 


Here we have the Heroics and Ros late war Germans. There are enough here for 6 infantry squads. Each platoon in Battlegroup contains 3 squads and 3 MG teams. I have enough MG teams for two platoons with more on order. I would like to field an entire company to be honest. I painted these up in a couple of sessions and am working on making my system more efficient. Tutorial to follow.