Tuesday, 1 April 2014

Home-made Dice Tray.

For a while I have been wanting a dice tray. It seems to be the next step to being a true gaming fan. Having looked for ones to buy, I thought that it seems pretty expensive for what it is. You can get them for £20-£50, which seems outrageous. I then googled some home-made solutions, and found some easy fixes. 

The white, deep frame cost me £3.50. The black felt is from a packet of ten A4 sheets that cost me £2. I glued the felt down with a large bottle of £1 PVA glue. The most time consuming part of the process was removing the stuff from the back of the frame. There were two hooks for hanging it on the wall. I was able to simply poke these off through the wood. I used a screwdriver to do that. The stand part was more difficult. I snapped all of the wood off, leaving a hinge. I was able to open that up and just pry out the joints. It took about half an hour, maybe.


I then cut down the felt, put down a bit of glue, and stuck it on. I just put the back of the frame in, pin it down with those things, and voila: dice tray complete. Very cheap, looks good, will serve me well.


Thursday, 27 March 2014

Dry-Brushing Results.

My interview was yesterday. I felt it went rather well, right up until the end where I was told I was getting a conditional offer, dependent on my bringing my French up to scratch (which has always been the plan).
My little lesson went down a treat. I began by showing two stretches of road, one dry-brushed, one not. I have since finished them both, though.


Next I showed examples of buildings. One was finished, one wasn't, although I have since dry-brushed it...


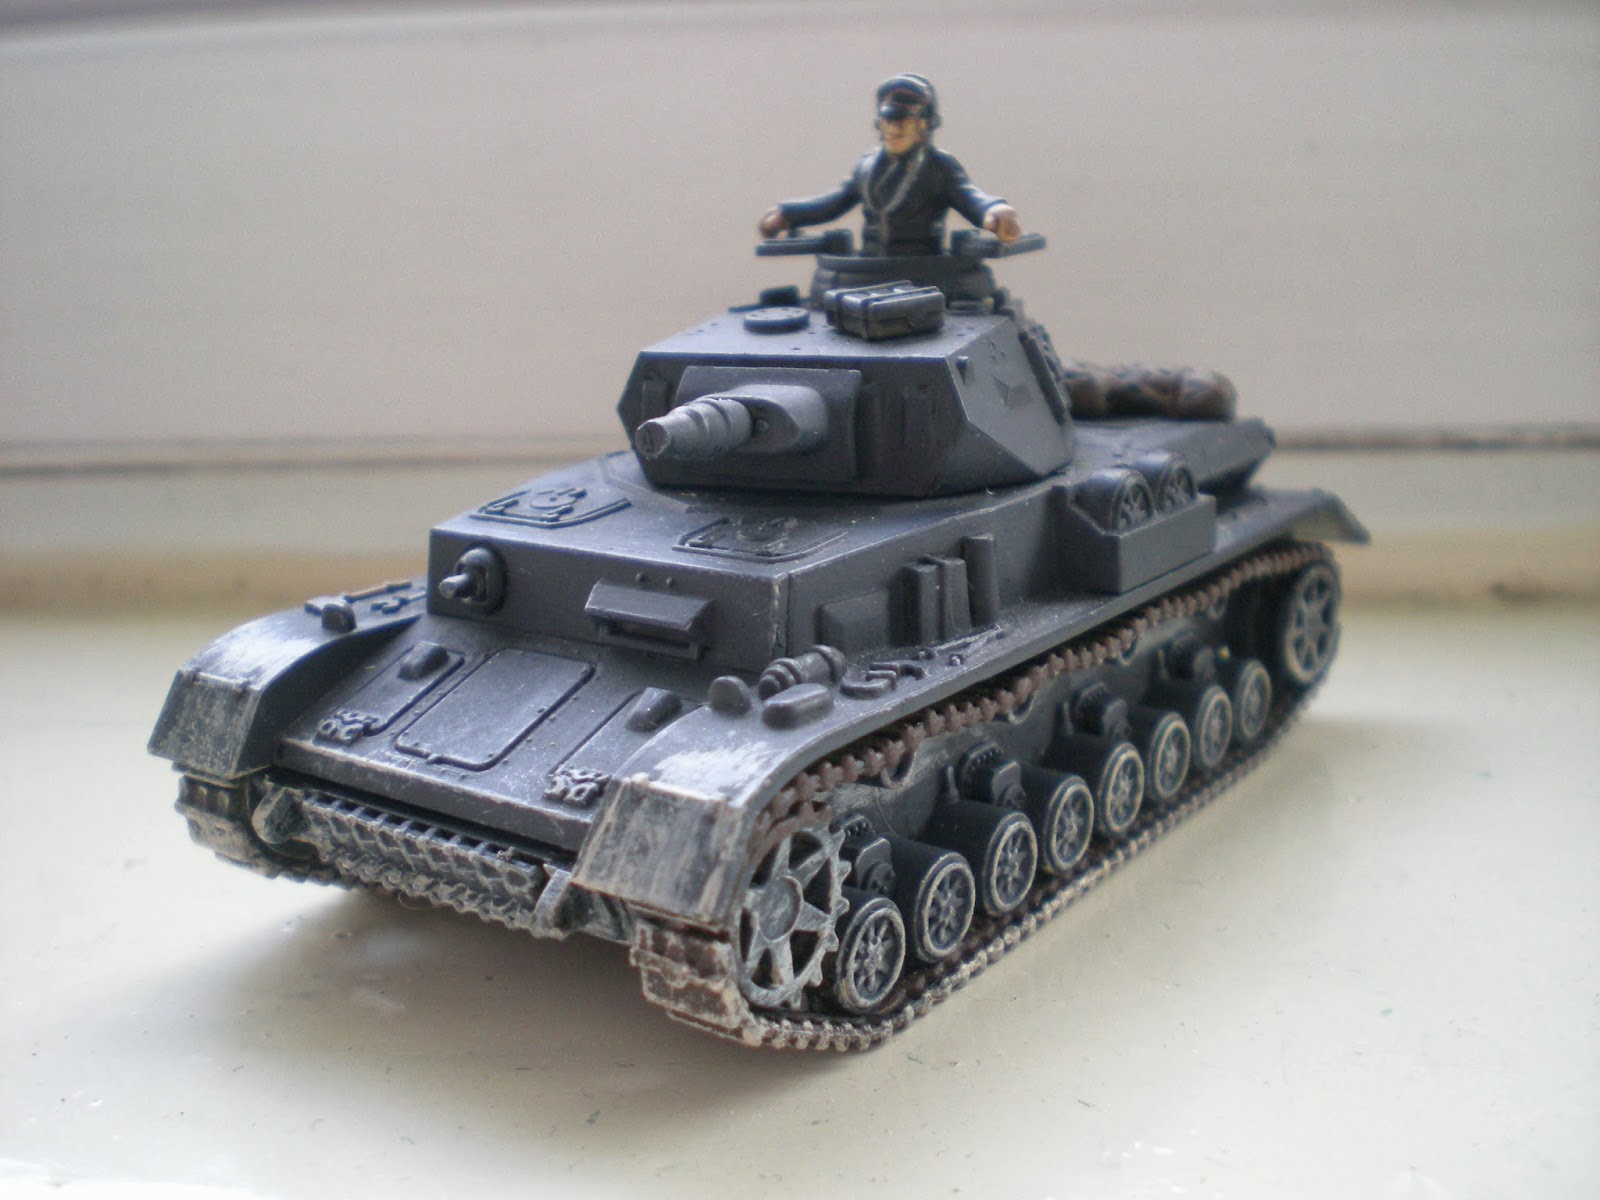
One of my "pupils" rejected the idea of being given a Sherman on the grounds that it is stupid to design a tank where the ammunition was stored next to the fuel. I laughed and gave him the Panzer IV. I don't like how light the colour turned out on this one, but that can be easily fixed. This guy managed to get a fairly decent effect on the wheels.


One of them had too much paint on his brush at first, as is clearly visible. So I told him to remember to remove as much paint as possible...


...and he actually did a fantastic job. I will just switch turrets, and touch up the one side.


One person had a bit too much paint at first, but again, ended up doing well with the wheels too.


For a group of people, who have never touched a model before, I think they did a marvelous job for their first time.

Hopefully we have some new converts.

Tuesday, 25 March 2014

Teaching Dry-Brushing.

Tomorrow I have an interview for a PGCE (teacher training for those of you in far-away places). Part of the day will be devoted to us demonstrating we have some raw teaching skills. I have to prepare a 10 minute teach on a subject of my choice. They recommend not teaching German or French, but a hobby or interest of mine, to show my true excitement.

I had an idea to teach people how to dry-brush. It is quick, simple, not messy, demonstrates creativity, and I is easily measurable. My students will be able to see their progress. I also think it is something the interviewers will never have seen done before.

So here is a preview. I bought some Armourfast Shermans and T-34s. I need some British Shermans, and more Soviet armour. I have painted them up, and will let my students loose on them tomorrow. I think they will do a decent job of it.


These are the M4A2 shermans, which apparently were used by the British. Although, I am not too picky about that, because a sherman is a sherman is a sherman. Maybe when I get older, I will care more about exact historical accuracy. Apart from quite a large, visible gap between the upper hull and the lower hull, these tanks aren't too bad. They will do as a rush job.

Tuesday, 18 March 2014

Hedgerow Hell! Part 2.

The weather is finally good enough to get outside and take some pictures of my hedgerows. The Americans give an okay idea for how big they are. I feel I can use them both as impassable bocage in Normandy, and other, more generic hedgerows in other parts of the world. These ones differ in that they are more textured than my previous post. I have left large gaps of bare earth, both to conserve grass, and give variety.


Below you can see the little bits of oyster that are contained in birdsand. They add a little texture too. In addition to cat litter.


I need to make some roads. I have a few half finished experiments. But nothing finished.


Now I just need about another 20 feet of hedgerows.

Sunday, 2 March 2014

Hedgerow Hell!

I don't have enough hedgerows/bocage. I have a handful of garden hedges, neatly trimmed, nice to look at. But I don't have anything I can cover a table with to represent Normandy, or anywhere with hedgerows lining the roads. This has been a serious problem for me, as it has stopped my ability to host my own games. I feel that if I can cover a table in hedges, I can at least have some sort of skirmish out in the fields. I could then add in some houses, as and when I complete them.

So, over the past few days, I have been experimenting. Here are a few of my failed projects:

This is the sponge of one of those bricks I picked up. I cut it roughly, stuck it to some card, and painted it two colours. The result was very disappointing. I see very little potential here, so left it alone.


This is the first layer of cat litter, stuck onto card. The watered down glue warped the card. Had I based them on wood, or plastic, it may have had more of a future. But as is, I won't be taking this design any further. There was a similar one, with layers of card, but that was also disappointing.


Inspired by this blog post, I decided to try something more substantial. I ran down to B&Q, and picked up some wood. I got some 8mm half doweling, along with, what I believe is D wood. I don't know. I bought 2.4 metres of the stuff, chopped them up, glued them together with PVA. 


On the first two, I just stuck some clumps of cat litter, sprayed them with my hideous, black primer spray (designed for cars...). I quite like the finished product. BUT on the next one, I have attached clumps of cat litter, then coated the whole thing in bird sand. I will be spraying it black in the morning.


These are the two with no bird sand. I dry brushed the cat litter a light grey, painted the whole thing brown, covered it in static grass, and used some woodlands scenic foliage clumps on top.  


 I am very, very pleased with the result. I have found my hedgerows! The plan now is to see how the bird sanded one looks with less grass on it. I want to dry brush it lighter colours and leave some bare patches.

But as it stands, I will be using this as my future recipe. By the end of tomorrow, I will likely have put together just under eight feet of hedgerows/bocage. Ideally I want at least twenty feet. I will probably end up getting two more lots of 2.4 metre sections and just throw it all together by the end of the week.

Roads are next on the list. 


Thursday, 27 February 2014

Operation: Build a Village, pt. 2.

Much delayed, due to general dissatisfaction with my house, and lack of inspiration, I finally feel ready enough to post what I have so far. It took a long time to decide what to use as a base for the house. While at work the other day, I came across good sized sheets of corrugated card, that I felt were sturdy enough to do the job for now. 

I am aware how clean the ground looks, and there are no doors or window frames, but really, I am happy enough. I feel that "it will do" until I get the time to make improvements.


With most of the remaining foam board, I finished this ruin too. Not satisfied with just having a stand-alone corner of a building, I based it, and turned it into a full ruin. The rubble is cat litter. I used Crawford and Black acrylic paints for the greys and browns. The lighter shade of grey is an older Revell acrylic, and the inside walls are a colour from a box of paints I bought on ebay. I actually like this more than the completed house.


 Now to get inspired for the next building.

Wednesday, 26 February 2014

It Arrived!!

I can't wait to dive into these. I have been lurking over on the forums for a long time now, looking at AARs, looking at terrain and models. I finally took the plunge. I can't wait to start playing them.


PSC Panzer IVs.

Today I completed my late war Panzer IVs. I have an early war one also, and will likely get another set of them with which I will make one late and two early war Panzers, ready for Barbarossa. 

These two were painted with the Vallejo Midstone, which looks much more yellow than my Airfix enamel Midstone. I can get used to it, though. This was also my first, large-scale outing for my weathering powders. I am not overly convinced by them. I loved how  they looked on my Soviet 45mm cannon, but this time seemed a little...flat. I will experiment more, though.


Tuesday, 25 February 2014

Revell Brits.

As a youth, in my hunt for more British soldiers to bolster my forces, I picked up the Revell set. I can't remember if they ever saw action, but they certainly felt my love. I found them so much better than the Esci set. My love for Brits over Americans has remained, and I am really enjoying painting them up. I find they go go fairly well with my PSC Brits (more pictures to follow), and have given me enough to probably field two under-strength platoons.


Monday, 10 February 2014

A couple of WIPs.

With some left over foam board, I thought I could make some corner ruins. I put a second floor in, which I think looks good. I just need to base it on something, which I am struggling to think of.


I liberated a bunch of these foam bricks. I am wondering what to do with them. Any ideas? Could I make bocage?