After boning up on the rules, I decided to get on with it, and play a game. I changed venue, to the dining room, which would be less painful for the back. Unfortunately, the table there is only 5x3 feet. To combat that, I decided to make my game only four turns, with an optional fifth. This would remove the first turn of entering the board and getting into position. Blood was spilled on the first turn.
Terrain rules: Farmhouse is hard cover. Hedgerows are soft cover. The big hedges also block line of sight, unless you are adjacent to them. This meant squads on opposing sides of the road, still can't see each other. All ground is open ground.
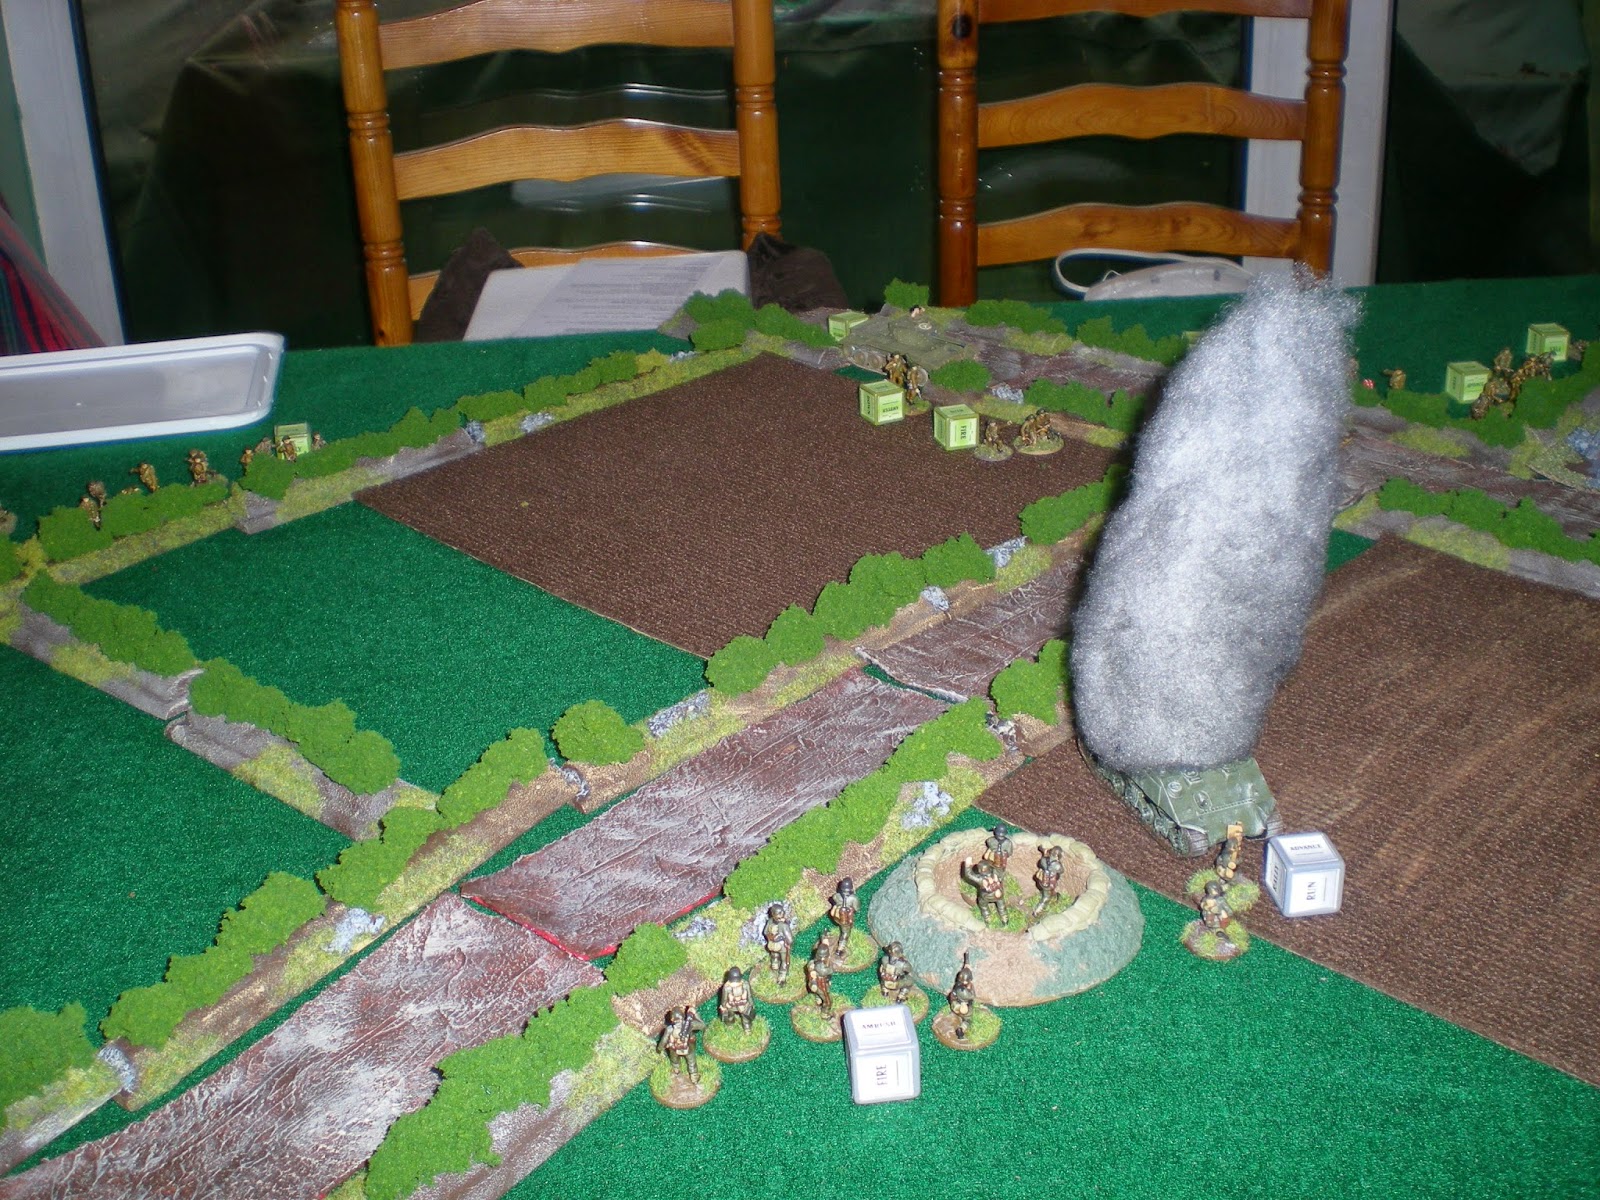
Scenario: This farm sits on a road junction in Normandy. After a failed attempt to capture it earlier in the day, the British have regrouped and are going for it again. There are two objectives, the farmhouse, and the small emplacement next to the burning sherman. Having successfully defended the area, the German armour has gone elsewhere to fight, but since movement on the British lines has been seen, Fritz called for help again.
There is a German squad sitting in the farmhouse, the commander is just behind it. A machine gun team is covering the road, with another squad sitting on the other objective.
The British get a couple of squads on, one up the right flank, supported by a 2" mortar, and one up the centre. They were hoping to get up close and distract the house occupants, while another squad flanks from the left.
The squad in the farmhouse open up on the approaching Brits. A casualty is taken, a pin marker received. This might not be so easy!
Armoured support arrives to block the road.
A Cromwell comes onto the scene, takes a shot at the Panzer IV, hits, but only stuns the crew. A decent start for his first time on the table.
The Germans set up in ambush, and the Panzerschreck comes on to get into position.
The British get all their forces onto the table, note their squad trying to outflank the house. I guess that German squad will have something to say about it.
Turn two begins with the Brits pulling a dice. Immediately the Cromwell is ordered to fire, and brews up the Panzer IV!! With that worry now removed, the Cromwell can go on to shell the infantry.
In retaliation, the Germans covering this flank are in position to unleash some lead upon the flanking force.
The British take some fire, a casualty, and a pin marker. It might be time for them to rethink their situation. However, they themselves manage to advance, and catch the German commander in the open. Yet, somehow they managed to score zero hits! Also visible is a pin marker on the house. This has been caused either by a 2" mortar, or the squad facing the house.
The Panzerschreck gets into position to ambush the Cromwell. Also visible is the Vickers team, and the now useless PIAT team.
This is the right flank at the end of turn two.
This is the left flank.
Turn three begins with the Vickers team opening up with a decent volley against the house. The German squad is down to five men.
And then the hero Cromwell strikes again. Rolling D6 hits for his light howitzer, he rolls 5. Bye bye Germans! The farmhouse is now empty (probably useless anyway now) and ready to be taken.
This is the state of the right flank. The British just cautiously advancing. Germans waiting. They see no need to leave their cover, and get caught in any crossfire on the road.
The British left flank take more casualties, and spend the turn hunkered down.
This is the situation on the left flank at the end of turn three.
Turn four begins with an effort to contest the second objective. The Germans, lying in wait open fire, and fall just short of forcing a morale roll. This was not the best idea this squad has ever had.
The Cromwell races up to take the main objective, and gets ambushed by the Panzerschreck...who rolls a 1.
The game ends at turn four. The Cromwell has taken an objective, with the second one being contested. Also, the Germans have lost their armour, and their centre has been penetrated. They decide to withdraw and regroup. But with the British flanks having taken damage, it was probably a closer game than it felt.