Showing posts with label roads. Show all posts

Sunday, 12 April 2020

Lockdown Terrain: Dirt roads and Sci Fi bits

I have been reading Harry Turtledove's "The War That Came Early" series in the evenings over the Easter weekend while my wife does puzzles. I have kept thinking I should get on and paint some miniatures or make some terrain, so tonight I finally did it. Took the plunge. I would have had a game, but she is taking up all the floor space.


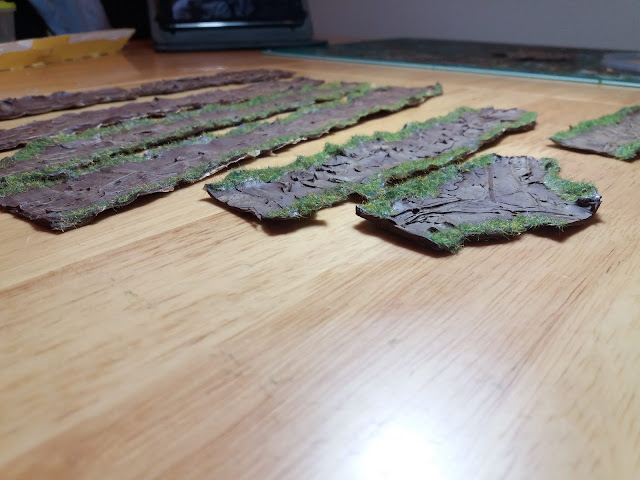
Simple roads: Brown felt strips, drybrushed (too) lightly and then flocked on the edges. Cheap, easy. I now have enough for a decent crossroads or something on a 4x4 table.


 Sci fi stuff. This is a MDF box that likely held small Christmas decorations in it. Plastic cover disposed of, the box could be a good single story building: a supermarket or something. I stuck a bunch of greeblies on it as someone recommended that on a previous project. I will prime it tomorrow and then go from there.

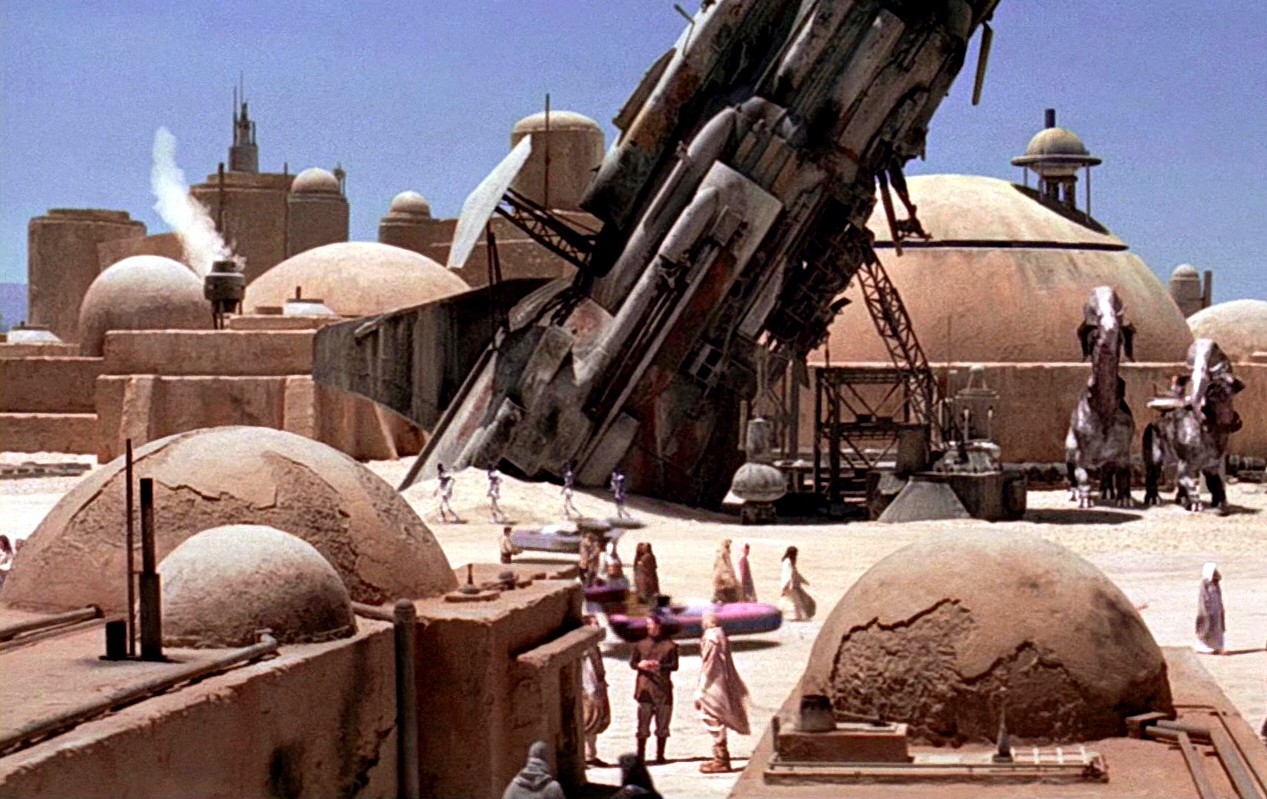
 The red and green thing: the tip of a mechanical pencil greenstuffed into the mechanism of a clicking ball point pen, stuck to a 2p coin. I was thinking of Mos Eisley when I made this (see below). I almost reversed the green nib to turn it into a missile.
Dowager Queen | Wookieepedia | Fandom


I simply glued a folding plastic thing onto this babyproofing plug protector. It is destined to be some kind of computer console area, good for an objective.

Monday, 26 August 2019

6mm dirt roads - the cheater edition

These roads are stolen from the 6mm wargaming and terrain group on Facebook. 

1. Brown felt, cut roughly into strips. I didn't bother measuring. Will I live to regret this?

2. A dry brush with a generic light colour that I got from The Works for 99p. It has a shiny finish but I don't use it ever without washes. And dry brushed onto felt it seems to ignore the shine.

3. PVA glue squeezed directly onto the edges of the road. I did one road section at a time.

4. Use a cheap brush to spread the glue to the edges.

5. Pour flock over each edge. Tap the middle of the roads to shake flock off.

6. Probably seal at some point?

In all this lot took me about 20 minutes to make.


Sunday, 7 October 2018

Normandy Progress: A closer look at the hedges.


I brought my felt mat back from school to see how the hedges and roads look on a green backdrop. My kain take away from this is that I really don't like the felt mat. It is too uniform. I much prefer the Lidl mats I bought this summer. I also need more by way of fields and things to break up the green.


A German ambush lies in wait. I mean it looks fine, but the road is curling up which annoys me. I have found other methods for road creation, so hopefully I can experiment with those soon.


The GIs advance. Hoping to hold the road junction. It all feels very cramped. Not sure how happy I am with that. I feel very much like "that'll do" but want more. I want to wow myself with my terrain making prowess. Back to the ideas phase I think for roads. Hedges I am pleased with. I just need more.


Wednesday, 5 September 2018

Roads and Bocage: Normandy Progress

Two terrain projects are about to finish. I am not sure how happy I am with both.

Bocage: 

I had made an experiment a couple of months ago by mixing foliage with PVA glue and squashing that onto lolly sticks. It looked okay, but my goodness it was difficult to paint the lolly sticks afterwards. Therefore, I gave up and began again.

The process: texture the lolly sticks. Paint them brown. Dry brush them. I then used green stuff to attach some trees to most of sticks. Some of the trees I trimmed down to be shorter. So far, so good. Simple, effective, nice looking. The next step was where the problems began.


 I needed to attach the foliage. To do this, I mixed PVA glue with water, then mixed the foliage in and began applying it to the lolly sticks. The picture below shows that they look good. However, it took multiple attempts to get the correct ratio of water to glue to make the foliage stick really solidly to the lolly sticks. As it happens the best ratio is: almost pure glue. 


Next up: roads.

Having read a few blog posts and websites it looked like you could make roads by using window frame sealant. If I used brown, then that would cut down one layer of paint as well! What could go wrong?

The tutorial said to use wax paper or grease proof paper, then create brown strips of window sealant. This means you can peel it off? Not sure. So that is what I did. It looks fine so far. I left it two days to properly dry...


I cut them off and tried to peel the paper off the back. It wouldn't all come off. It also became clear that the sealant had contracted and curled inwards. I was worried it would be problematic and the roads wouldn't lie flat.


I was right. They curl a little. I am not sure how I feel about that. My next batch I will initially make on a glass pane...see if that stops it shrinking in on itself and curling up.


Luckily, once drybrushed and flocked, they don't look too bad.


And when placed with bocage, it doesn't matter too much. The main job will now to be to create more bocage and roads. I need feet and feet of them!!


Thursday, 28 July 2016

Jungle Foliage and other bits

I have been able to have hobby time every evening for the past week. It is a brilliant feeling. I managed to play a game of Starport Scum (review is coming), have primed a number of small mecha/powered armour suits, and took the plunge and made some foliage stands.

Below we can see my seven alien planet jungle stands. I will likely need many more of them, but these were more of an experiment than anything. I will probably still flock them before I call them finished. They are based on CDs, and the plants are aquarium plants ordered on ebay years ago. It was simply a case of taking the aquarium plants apart to varying degrees, smooshing up some Green Stuff (bought six years ago for customizing Star Wars Miniatures) that I have not used very much at all, wrapping a blob around the bottom end of the plant and putting it on the CD. Once dry I textured the base with Vallejo base texture, painted and drybrushed.

 You can also see my yellow resin buildings, I think from Demonscape on ebay. I ordered them back before Christmas to see what they would be like. You can also see a small field in the centre, and experimental bar furnishings made from pennies, the edge of Pringles lids, and a table made of a square of card and a blob of Green Stuff.

The roads/urban base areas are linoleum tiles bought from Poundland: 4 for £1. For the road sections I cut the tiles, conveniently along the pattern, removed the adhesive protection, sprayed the sticky side black, then drybrushed white. It has a small hexagonal pattern. The large square sections, I just sprayed the patterned side and drybrushed white. I might take some more pictures for another blog entry.

Coming up on this blog: some more P1/P2 mecha that are actually 10mm Power Armour from Ironwind Miniatures, I think. This was inspired by the Delta Vector blog.

I also intend to create more jungle stands, some more hills, and work out how to make actual terrain boards/mats that are easy to store.

The conclusion of the Rhoro Tharik story will be coming soon, as will other adventures, a Starport Scum review, and possibly some Horizon Wars action, as I have found (through this blog) someone to actually play with.