Wednesday, 30 April 2014

Dirt Roads.

 I have finally gotten around to making a post about my roads! After an exchange with another blogger, I decided to follow his basic concept for road building. I ran to ASDA and picked up a packet of A4 sized felt sheets for £2. Cutting some of these into strips, I decided to experiment by just putting one layer of bath sealant over them. This is tough on the old hands, as I squeeze the sealant out, but on the flip side I finally get to play with one of those gun looking things.

For my first batch, I decided to just paint onto the one layer, and hey presto, they look good. No need for other layers. I scored some wheel ruts into them using the knife I applied the sealant with. 

The paints are just some generic craft acrylics I picked up at the works. Some sort of burnt umber colour, and a lighter shade with no name.


Below you can see the detail. Most of this is just naturally how the sealant formed. 


You can also see how flexible they are. I can bend them over hills if necessary. The only problem is that you can still see the felt colour on some of the edges. I try to cover this up, but it doesn't always work. 


I now need to make some curved sections, and intersections, to give me the variety needed for dirt roads in WW2 Europe. I am sure their little lanes weren't a grid system.

Hedgerow Hell Part 3.

Laziness led me to stop using cat litter on my hedges... that and the disappointment with some of the rocks falling off my first batch. Deciding to omit cat litter has made the process of hedge making faster. I have another six feet that will be finished by tomorrow morning. 

I wanted to show the difference between my first and second batches. Due to my own decision not to write my recipe down, I accidentally bought the wrong base size. As you can see, it is thicker. This has made for some wider hedges.


I am still very pleased with them though, and they don't look too bad when lining a road.


Monday, 21 April 2014

StuGs Part 2.

Stowage is added. I have made some canvas rolls our of green-stuff, thrown on some jerry cans, and a box from my model railway days. On the StuG on the left has some left over foam board covered by a green stuff sheet.


Saturday, 19 April 2014

StuGs.

Having picked up some StuH 42s at Salute, I decided it was time to get to work on my StuG IIIs. So I threw together three of them, and now they are ready to be primed and painted. I can't decide whether to attach Schürzen before, or after most of the painting is done.


Sunday, 13 April 2014

Salute 2014 Haul.

The best laid schemes o' mice an' men gang aft a-gley. This seems apt, because things did not go to plan on Saturday. Yes, I still made it to Salute. No things didn't go exactly as I had thought. The original Salute 2014 plan had been to join the queue and get in for 10am, pick up the goodie bag, spend a couple of hours there and get back to Westham for my brother's birthday party. Life, as always, threw a wrench into the works. Due to procrastination, oversleeping, and a hearty fry up breakfast, I didn't leave for the Excel until 11:45am. I arrived to find no goodie bags left, meaning I don't have the 2014 dice, or the figure.

BUT, my fiance came with me, which meant a lot. I got to expose her a little more to my hobby. She was surprised at how many people were into it. She was also surprised to learn that we follow rule books for games, and don't just line our soldiers up and make shooty noises.

I came away with:

  • Armourfast StuH 42s
  • PSC 6 Pounders and Loyd Carriers
  • Pegasus KV 1s for Barbarossa
  • Valiant German Paratroopers, which I am having fun putting together right now.
  • Some sort of Meadow Green Mat from the Arcane Scenery bargain bucket.
The next thing I need to pile up on is StuG IIIs. I think I need about six of them to start with.
 

Wednesday, 2 April 2014

On the Bench.

Another 15.5 feet of hedgerows on the way. Some German support weapons almost finished. A couple of T-34s and Shermans just waiting for me to finish weathering. Going to keep me busy. 


Tuesday, 1 April 2014

Home-made Dice Tray.

For a while I have been wanting a dice tray. It seems to be the next step to being a true gaming fan. Having looked for ones to buy, I thought that it seems pretty expensive for what it is. You can get them for £20-£50, which seems outrageous. I then googled some home-made solutions, and found some easy fixes. 

The white, deep frame cost me £3.50. The black felt is from a packet of ten A4 sheets that cost me £2. I glued the felt down with a large bottle of £1 PVA glue. The most time consuming part of the process was removing the stuff from the back of the frame. There were two hooks for hanging it on the wall. I was able to simply poke these off through the wood. I used a screwdriver to do that. The stand part was more difficult. I snapped all of the wood off, leaving a hinge. I was able to open that up and just pry out the joints. It took about half an hour, maybe.


I then cut down the felt, put down a bit of glue, and stuck it on. I just put the back of the frame in, pin it down with those things, and voila: dice tray complete. Very cheap, looks good, will serve me well.


Thursday, 27 March 2014

Dry-Brushing Results.

My interview was yesterday. I felt it went rather well, right up until the end where I was told I was getting a conditional offer, dependent on my bringing my French up to scratch (which has always been the plan).
My little lesson went down a treat. I began by showing two stretches of road, one dry-brushed, one not. I have since finished them both, though.


Next I showed examples of buildings. One was finished, one wasn't, although I have since dry-brushed it...


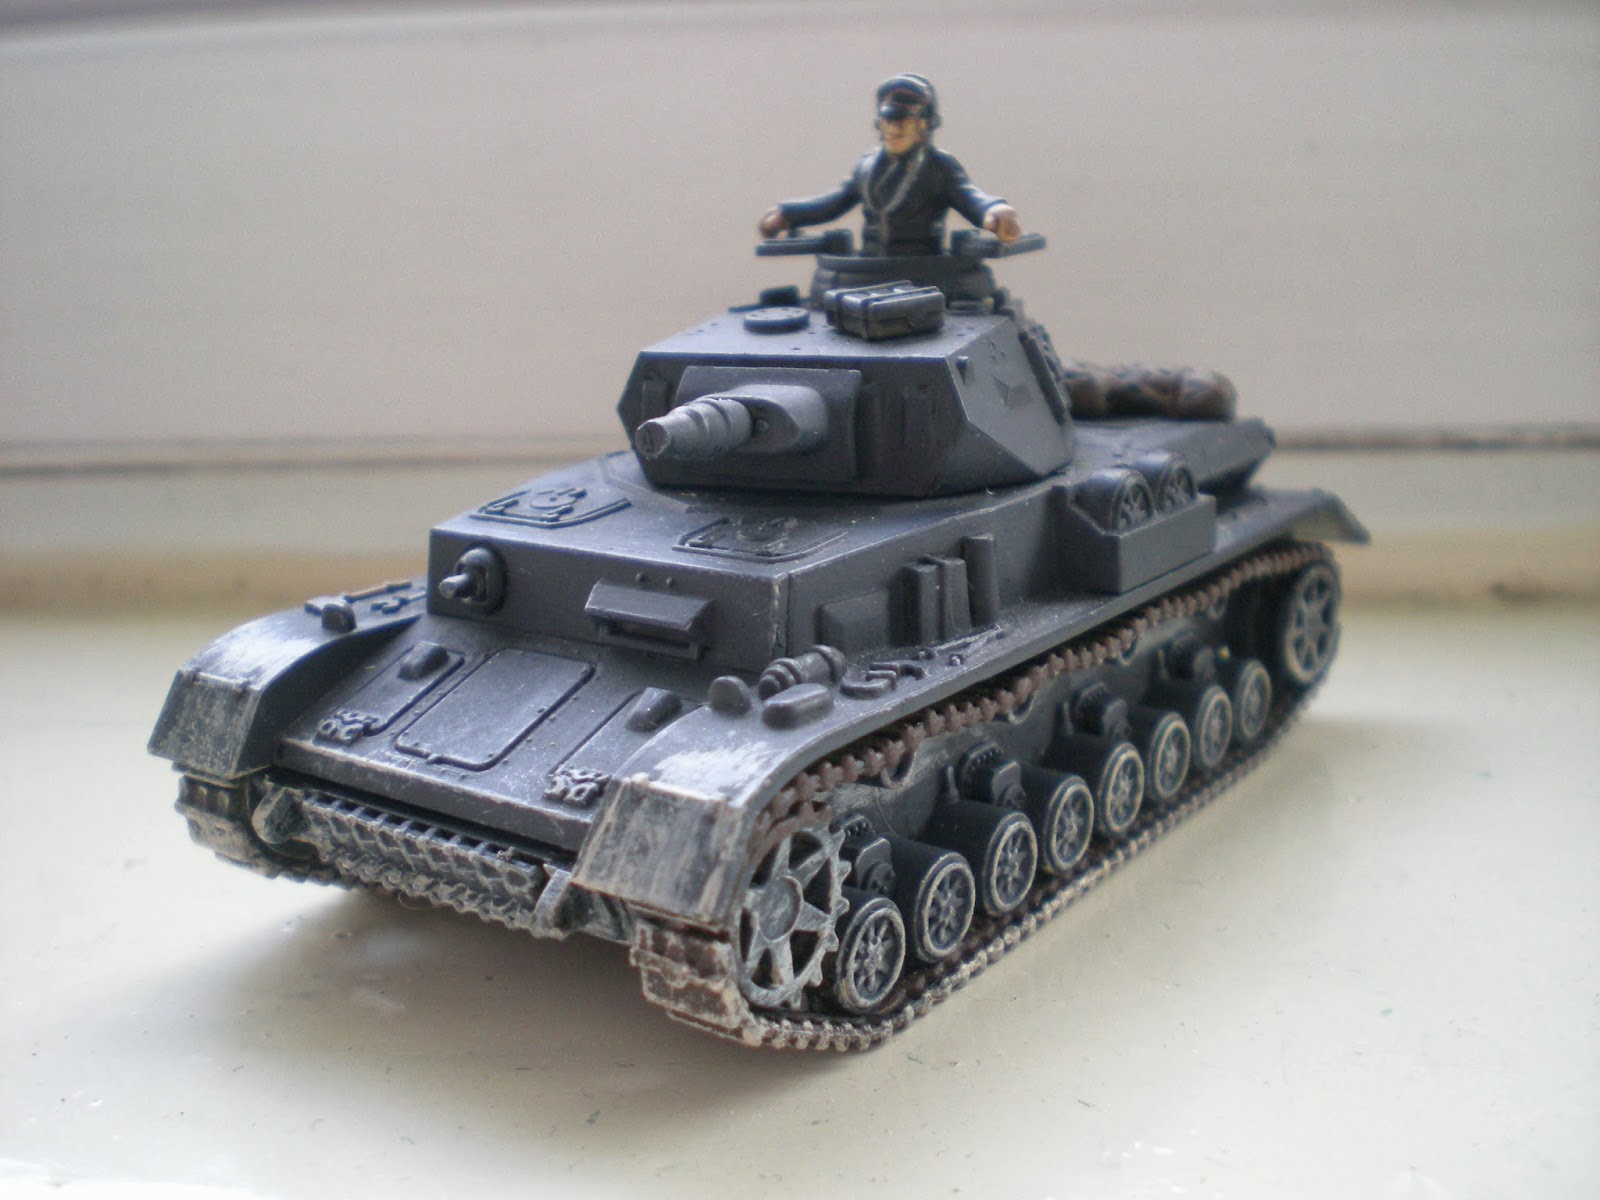
One of my "pupils" rejected the idea of being given a Sherman on the grounds that it is stupid to design a tank where the ammunition was stored next to the fuel. I laughed and gave him the Panzer IV. I don't like how light the colour turned out on this one, but that can be easily fixed. This guy managed to get a fairly decent effect on the wheels.


One of them had too much paint on his brush at first, as is clearly visible. So I told him to remember to remove as much paint as possible...


...and he actually did a fantastic job. I will just switch turrets, and touch up the one side.


One person had a bit too much paint at first, but again, ended up doing well with the wheels too.


For a group of people, who have never touched a model before, I think they did a marvelous job for their first time.

Hopefully we have some new converts.

Tuesday, 25 March 2014

Teaching Dry-Brushing.

Tomorrow I have an interview for a PGCE (teacher training for those of you in far-away places). Part of the day will be devoted to us demonstrating we have some raw teaching skills. I have to prepare a 10 minute teach on a subject of my choice. They recommend not teaching German or French, but a hobby or interest of mine, to show my true excitement.

I had an idea to teach people how to dry-brush. It is quick, simple, not messy, demonstrates creativity, and I is easily measurable. My students will be able to see their progress. I also think it is something the interviewers will never have seen done before.

So here is a preview. I bought some Armourfast Shermans and T-34s. I need some British Shermans, and more Soviet armour. I have painted them up, and will let my students loose on them tomorrow. I think they will do a decent job of it.


These are the M4A2 shermans, which apparently were used by the British. Although, I am not too picky about that, because a sherman is a sherman is a sherman. Maybe when I get older, I will care more about exact historical accuracy. Apart from quite a large, visible gap between the upper hull and the lower hull, these tanks aren't too bad. They will do as a rush job.

Tuesday, 18 March 2014

Hedgerow Hell! Part 2.

The weather is finally good enough to get outside and take some pictures of my hedgerows. The Americans give an okay idea for how big they are. I feel I can use them both as impassable bocage in Normandy, and other, more generic hedgerows in other parts of the world. These ones differ in that they are more textured than my previous post. I have left large gaps of bare earth, both to conserve grass, and give variety.


Below you can see the little bits of oyster that are contained in birdsand. They add a little texture too. In addition to cat litter.


I need to make some roads. I have a few half finished experiments. But nothing finished.


Now I just need about another 20 feet of hedgerows.